SUPPORT
Are you lost? Need help with calibration or settings? Hope you’ll find your answers here.
If you didn’t find your answers, please don’t hesitate to contact us.
Pedals
If you have switched from a potentiometer-controlled pedal, we recommend starting with a black set of bushings. The black set of bushings simulates the brake of classic Road cars, on the contrary, the whole orange set simulates the brake of Formula monoposts, where the brake can be depressed by only a few millimeters. For GT cars, we recommend a combination – black, blue, orange. This combination is such a reasonable middle ground between progressiveness and rigidity.
Our system allows you to set the brake really to your preferences, without compromise and subsequent habit of feeling unrealistic.
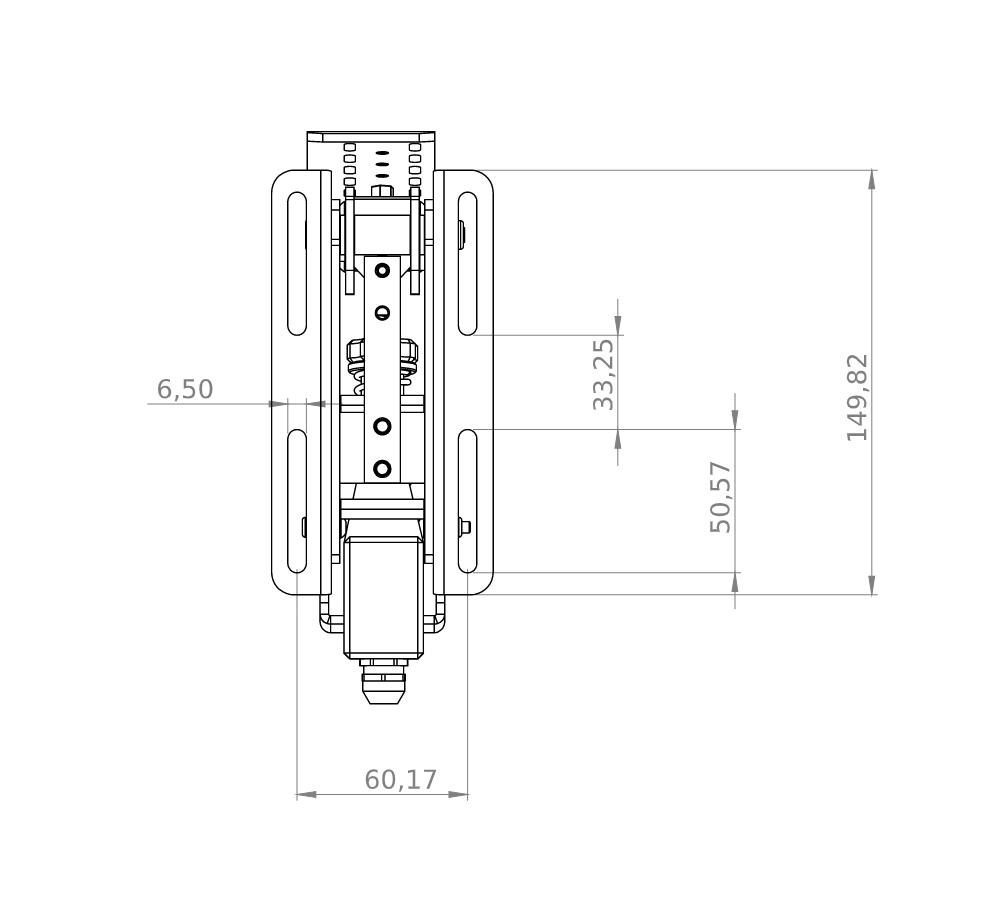
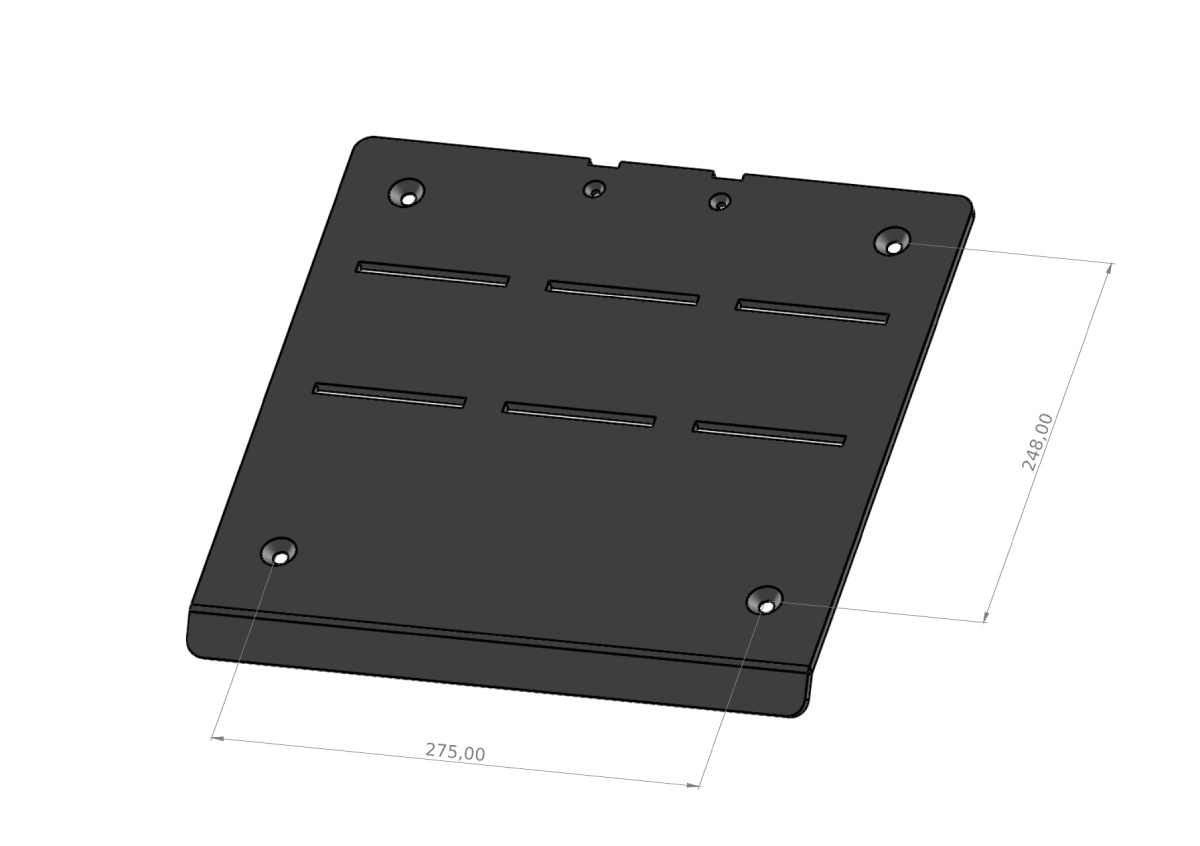
Our pedals are compatible with these rigs:
TRAKRACER
- TR160
- TR80
- RS6
- TR8
Nextlevelracing
- GT Lite
- F-GT Lite
- Challenger
- F-GT
- GT Ultimate V2
- GT Track
- GTTrack PlayStation Edition
GT Omega
- ART
- PRO
- Titan
Fanatec
- Rennsport V2
Simlab
- GT1 Evo
- GT2
- P1-X
- TR 1 Chasis
RSeat
- RS Formula V2
- S1
- RS1
Playseat
- Challenge
- Evolution
- Pro F1
- F1 Ultimate Edition
- Sensation Pro
PRO Simu
- T1000
- T5 Pro
Simétik
- K2-R Cockpit
RaceRoom Game seat
Vesaro
Flickering is normal if it takes place in the order of 5 tenths of a percent. If you have bigger flickering, then try this:
- Do not connect the USB pedal cable to the USB HUB. Connect the pedals to the USB connector on the motherboard.
- Pedals are grounded via Leo Bodnar unit and then via USB to PC. Flickering problems are sometimes caused by Direct Drive steering wheel connected to the same socket as PC. Try to connect PC to the different socket than Direct Drive steering wheel.
- If flickering still persists, it is possible that you have poor grounding on the house wiring. We recommend you try to connect the pedals to a notebook that runs only on battery power. This will determine if flickering is not originating in the electrical network.
- If flickering disappear on the notebook that runs on battery, than you need to ground pedals to you rig. Check photos of grounding from our customers.
Since iRacing does not read data from Diview, it is necessary to set dead zones directly in the iRacing’s calibration software.
Throttle
To calibrate the throttle, push the pedal and read the values above the graphic bar until it shows 65000. Then release the throttle to number 500 – 1000 and click OK.
Brake
Push the brake to the value you want to have as your maximum braking force. Then release the brake, but at the end do not release it completely and click OK. We recommend set the lower deadzone to a higher value. The brake will not react when you’ll put your foot lightly on the pedal.
Clutch
To calibrate the clutch, step on the pedal and read the values above the graphic bar until it shows 65000. Then release the clutch to number 500 – 1000 and click OK.
For pedal calibration, please follow our PDF Guide and section how to use DiView.
The problem is with the firmware of the leo bodnar unit.
Follow the steps on this page and use the .bin file which you could download from our support page. There is the download link for the HidFlash utility on the bottom of the article.
http://www.leobodnar.com/shop/
After flashing will pedals works normally again.
Ordering and shippment
We give a standard two-year warranty on our products.
YES. If you are outside of European Union, then you will get price without VAT. If you’re from EU and have European VAT ID, then you could buy our products also without VAT.
You could pay by Bank Transfer, Paypal or by Card.
Bank transfer
If you’ll choose pay by Bank transfer, you’ll get payment information in confirmation to your email right after placing order.
Paypal
After placing order you’ll be redirect to paypal, where you could pay for our products. After successfull payment you’ll be redirect back to our webpage.
Pay by card
The fastest way to pay online. In the ComGate payment gateway interface, enter the card number, validity date and CVC code – three numbers, which you will find in the signature strip on the back of the card. Everything is secured by the 3D Secure standard, so you will probably be asked to enter a numeric code, which you will receive by SMS from your bank (if supported by your bank). Supported cards VISA, VISA Electron, MasterCard, Maestro, Diners Club.
Thanks to UPS, we are able to send our products to the whole world.
Usual delivery times are:
- EU – 1-2 business days
- US – 3-4 business days
- Australia – 5-7 business days
All services are provided by UPS. UPS shipping delays due to weather, natural disasters, or other uncontrollable events cannot be foreseen and may increase delivery timeframe. Shipping services and rates are subject to change without prior notice.


